Jumble – WooCommerce / WordPress Wishlist Collection & Bookmark Plugin
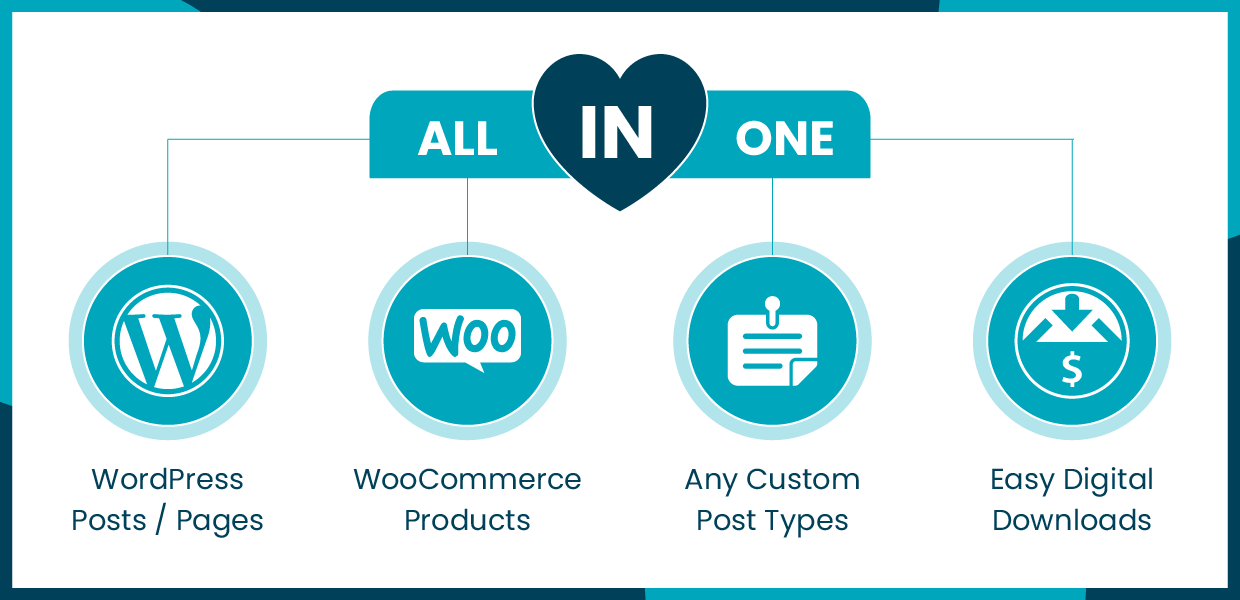
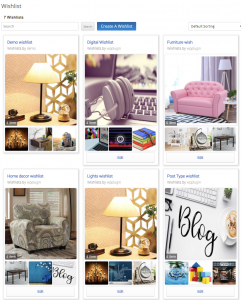
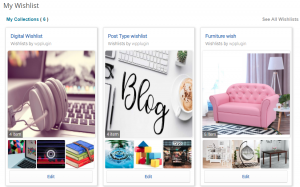
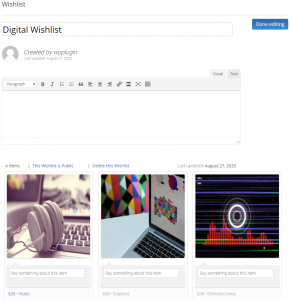
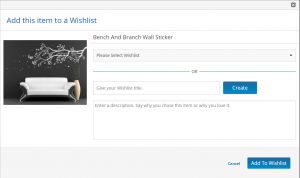
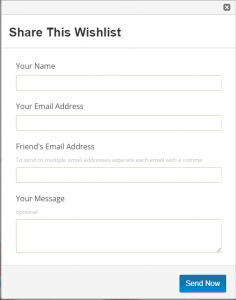
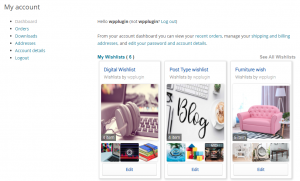
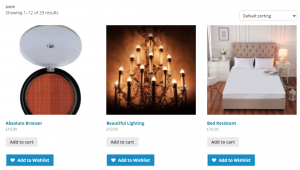
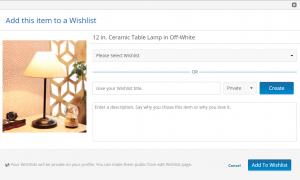
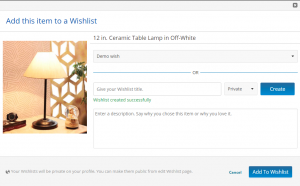
Jumble – WooCommerce / WordPress Wishlist Collection & Bookmark plugin permits the purchaser to save/share/recommend his/her collection. It has the unique feature of adding any customized post or page to the Wishlist. Also, several wishlist pages can be created at once. Those can be added or removed multiple times, thus creating a manageable environment.
- Registered/Guest customers can create wishlists/save/bookmark and store them an indefinite number of times.
- An unlimited number of Wishlists can be created.
- Let the user share the wishlist on social media profiles so that you can have an indirect advertisement for your store, also this will help you to boost your sale.
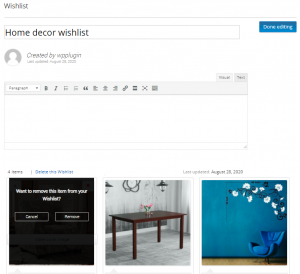
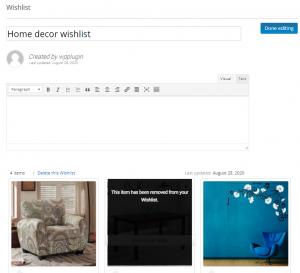
- Multiple actions to manage wishlists: Add multiple or all items to the cart, update, delete one or multiple items and move one or multiple items easily to another list or to a brand new list.
Purchase a License

BUYER PROTECTION
If you are not satisfied with our products, you will receive a 100% refund for any reason. Read more about the refund policy >

99% Customer
Satisfaction

40,000+ Total
Downloads

5000+ Active
Premium Customers
Trusted By Over 40,000+ WooCommerce Store Owner
Plugin Details
Know more about the plugin before installation
Current Version
1.0.2
Last update
07 Oct. 2020
WordPress
3.5 or higher
WooCommerce
4.5 or higher
Compatible with
WPML
Release Notes
Translation Ready


Automatic Updates
To use premium plugins often means having to update them manually. Losing time & teaching customers additional procedures.

Simple Documentation
If you find yourself needing help. Jumble Wishlist Plugin includes extreme documentation file with step by step.
Frequently Asked Questions
1. Download the User Switching plugin.
2. Install the plugin on your WordPress site.
3. Activate the plugin.
4. Go to WordPress Dashboard > Users > All Users
5. Select the Account you would like to create the Wishlist on and select "Switch To".
You can now go to your store and create a Wishlist through the storefront like a normal customer. When you are done creating the Wishlist and have saved it, to switch back to your admin account, go to the top right corner of your browser and select "Switch back to [Your Account Name Here]".

