
Can’t Access WordPress Admin Dashboard? Try These Fixes!
Can’t access your WordPress admin dashboard? That sudden lockout can be frustrating, especially when you’ve got content to publish or...

To most people, changing a WordPress theme looks like picking a new design, clicking activate, and moving on. However, for developers, it’s a technical migration with real risk if handled carelessly. One wrong step and the carefully constructed layout, widget registrations, and menus start to look inconsistent. That is why a safe WordPress theme change needs a structured workflow built around auditing, staging, reconfiguration, testing, and validation.
Table of Contents
This article outlines a safer, more professional workflow for a WordPress theme change:
When you switch to a new WordPress theme, your site’s design and layout change instantly, while your content posts, pages, and media stay the same. The new theme then applies its own structure and styling, which can shift layouts, move or remove widgets, and change menu placements. As a result, some elements may look broken or inconsistent until everything is properly adjusted.
Here’s What Stays the Same vs What Changes After a Theme Switch:
| Component | Status After Switch |
|---|---|
| Posts & Pages | Stays the same |
| Menus | May need reassignment |
| Media Library | Unchanged |
| Widget Areas / Sidebars | Needs review |
| Categories & Tags | Stays the same |
| Homepage Settings | Requires verification |
| Database Content | Unchanged |
| Custom CSS | Needs review |
| URLs | Unchanged |
| Theme Shortcodes | May break |
A professional audit helps you identify the parts of the current theme that still control layout, styling, or functionality.
A proper audit usually covers two levels: the visible layer and the implementation layer.
During WordPress theme customization, developers must carefully consider UI/UX logic. It defines where menus appear, how pages are structured, how users move from one section to another, and how content is visually presented. If these are not copied or handled properly in the new theme, you can end up with missing menus, broken layouts, unstyled pages, or lost integrations.
The second layer is the theme’s core code logic. Developers inspect it to understand how functionality is implemented. For instance:
// Common things to audit in the outgoing theme's functions.php

register_nav_menus( ... );               // menu locations that may need remapping
add_image_size( ... );                   // custom image sizes used by templates
add_action( 'wp_enqueue_scripts', ... ); // theme CSS and JS loading
add_action( 'wp_head', ... );            // hardcoded injections such as analytics or structured data
If the theme contains SEO output, structured data, custom post types, or other business logic, you can’t just update the design. At that point, the job becomes a separation task, not just a design update.
In that case, you need to move these functions into a site-specific or MU plugin so that SEO, CPTs, APIs, and other business logic are independent of the theme. This keeps data and functionality safe even if you change or update the theme in the future.
If you want to maintain 100% uptime, you must isolate development from production. The standard operating procedure follows a strict sequence:
Installing the new theme is the easy part. The real challenge of custom WordPress development begins after activation, when you need to review the layout, reassign menus, check widget areas, and update key WordPress theme settings so the site works properly before the change goes live.
Here are a few steps to follow:
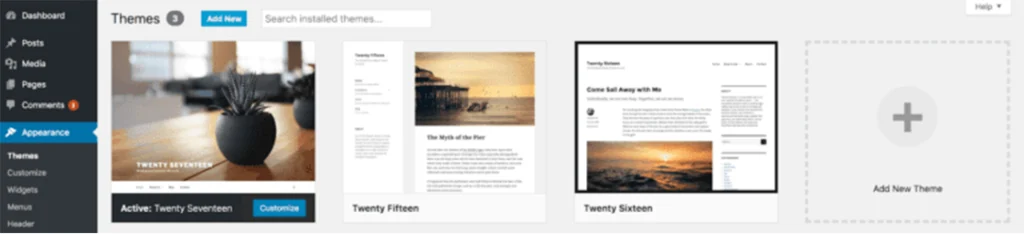
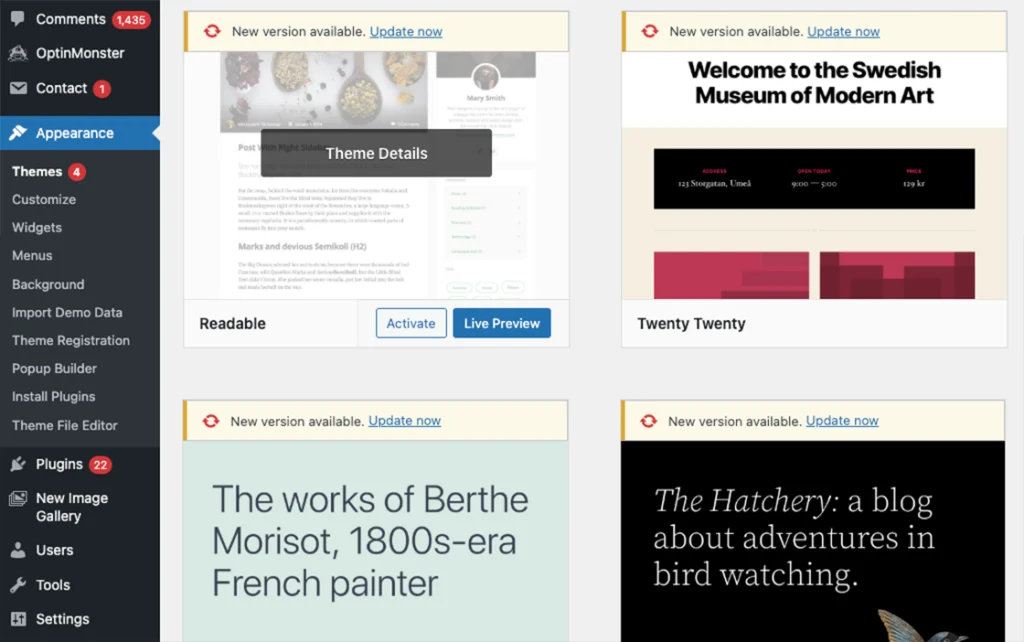
Never experiment on a live website; instead, install the new theme on your staging site. In the WordPress dashboard, navigate to Appearance > Themes > Add New. Then either search for the theme or upload the ZIP file for premium themes. Once the installation is complete, activate it in staging so you can review the site safely before making any public changes.
Once you activate the theme, open the front end of the site and review the homepage first. It is important to verify whether the correct homepage template is loading and that the site has not fallen back to a default blog index or a stripped-down layout. Audit of the header, footer, inner pages, and blog archives to make sure the overall structure matches your intended design.
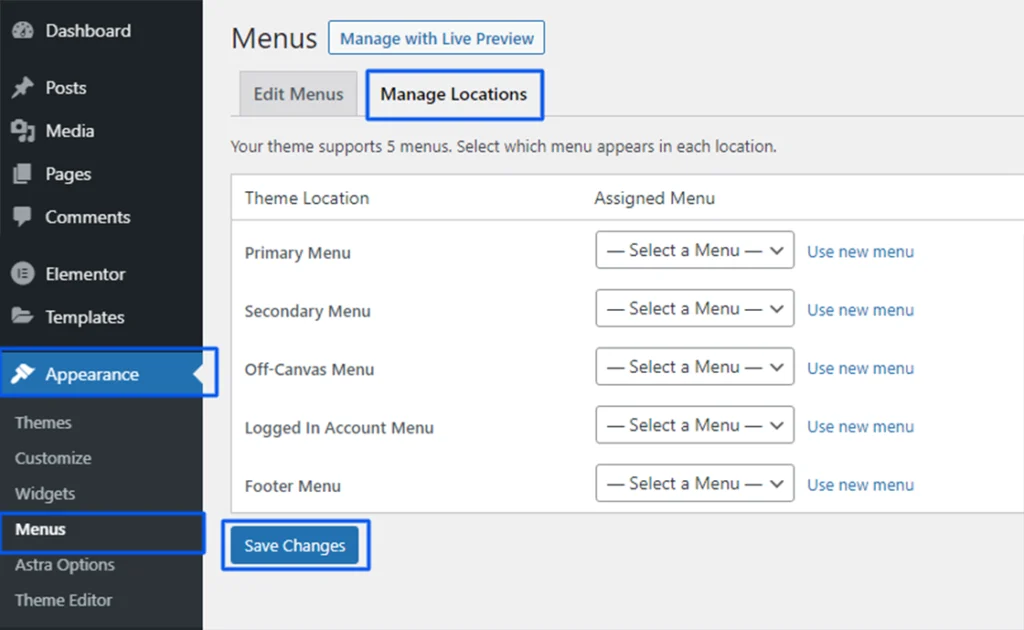
New themes often register in different menu locations. Even if your menu items are saved, they may not appear until they are reassigned. So, go to Appearance > Menus or Manage Locations. Make sure the site’s existing menus are in the correct positions, such as the primary menu, footer menu, or mobile menu.
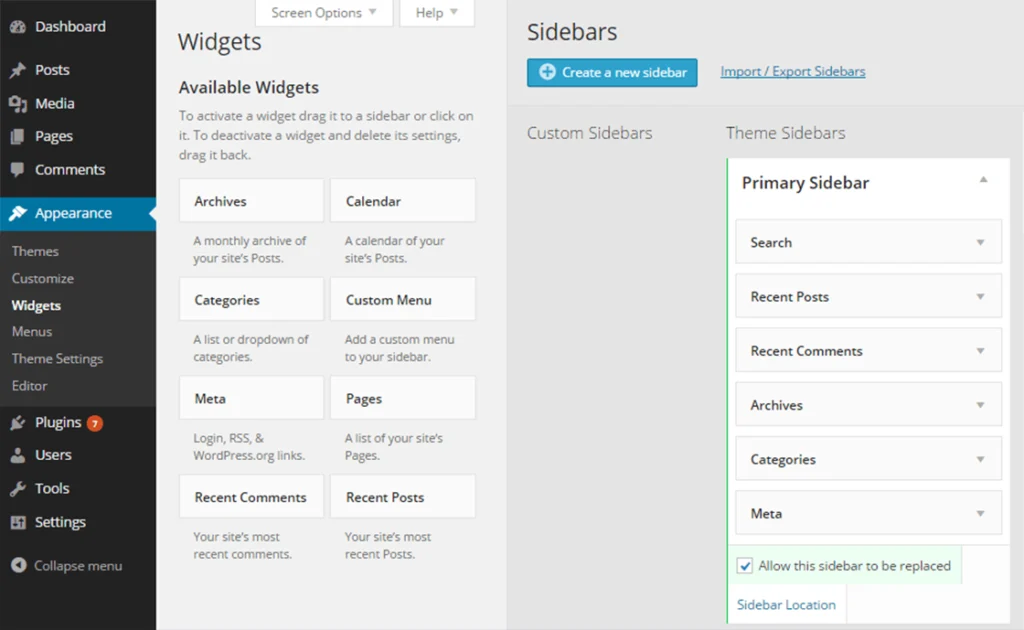
Switching themes often causes widgets to shift into the “Inactive Widgets” section or move into the wrong containers, especially if the new theme uses a different layout structure. Go to Appearance > Widgets and check whether sidebar, footer, or other widget-based sections are still displaying correctly.
Now review the core WordPress theme settings that affect how the site looks and behaves. Confirm the homepage and posts page settings under Settings > Reading if needed, then check the logo, header behaviour, typography, spacing, and colour settings in the Customizer, theme options panel, or Site Editor, depending on how the new theme is built. If you had custom CSS or specific functional changes in your old theme, rebuild them carefully here rather than copying code over blindly.
A theme switch should only go live once the layout, settings, and functionality have been thoroughly vetted in the staging environment. Check navigation, forms, mobile layouts, search, and any important conversion paths such as lead forms or checkout pages.
After identifying theme-bound logic in functions.php, you should decide what to remove, what to keep, and what the new theme already handles natively.
In modern WordPress, block themes rely more on HTML templates, template parts, the Site Editor, and global styles defined through theme.json, while classic themes usually rely on PHP template files, stylesheet logic, and theme settings handled through the Customizer or a dedicated options panel.
| Area | Classic Themes | Block Themes |
|---|---|---|
| Main structure | PHP, CSS, JavaScript | HTML templates, blocks, configuration |
| Main editing flow | Customizer and theme options | Site Editor and block templates |
| Layout control | Template files and settings | Templates, template parts, Global Styles |
| Global design settings | Theme-specific methods or partial theme.json usage | Often strongly driven by theme.json |
When migrating to block themes, you must reconcile global design tokens, such as typography and color palettes, within the theme.json framework to ensure layout consistency.
Here’s an example of a theme.json from a block theme.
{
  "settings": {
    "layout": {
      "contentSize": "800px",
      "wideSize": "1200px"
    },
    "color": {
      "palette": [
        { "slug": "primary", "color": "#0073aa" }
      ]
    }
  }
}
Before you launch a new theme, check all the main template files and custom code to ensure nothing breaks.
Look at core templates like:
Also, check any custom templates from plugins or custom post types, as well as WooCommerce templates, if you run an online store. These templates control how content is rendered across key user and search-facing pages.
The functions.php file often contains theme-bound logic, which is code that only matters for the old theme:
Remove anything that was only needed for the old theme. Keep code or functions the site still uses, like custom features that the new theme doesn’t provide. Replace anything the new theme already handles. For example, if the new theme adds its own menus or image sizes, you don’t need the old ones.
When testing the site, you need to check whether it works correctly, renders well across devices, and whether the technical signals that affect performance and search visibility remain intact.
You need to test user-interactive elements such as buttons, links, forms, menus, logins, and shopping carts to ensure they still function when users navigate, submit forms, or complete transactions.
Key areas to check:
If your site uses WooCommerce (online store), you also need to test:
A theme switch should not introduce layout instability, broken navigation, or inconsistent spacing across devices.
Check for:
A theme switch can affect crawlability, schema output, page speed, and heading structure, so SEO checks should be part of final validation.
The live launch should be the handoff of an already-validated version, not the first place real testing happens. Before switching production:
Once live, immediately run a smoke test on:
These paths get priority because they surface the business impact of a failed switch first.
Developers often face broken layouts, broken scripts, missing structured data, slow pages, accessibility failures, and 404s or console errors when switching themes. Most problems occur because of:
Changing a WordPress theme safely is a lengthy process that requires a structured workflow. You need to audit the current setup, protect production with backups and staging, reconfigure the new theme carefully, validate templates and performance, and launch only after testing is complete.
Can’t access your WordPress admin dashboard? That sudden lockout can be frustrating, especially when you’ve got content to publish or...

When building your WordPress site, you want it to look and work great. That’s why you try out different WordPress...

Launching an online store is not a big deal nowadays but what about picking the right eCommerce platform? That’s where...